
 |
| 24th February - The push-out fire escape was too flimsy and would not have been the best behind our bedhead. So I popped it out and decided to frame up a small fire escape hatch. |

 |
| The Bed became a work in progress. I had a general idea of how i wanted it to work but it evolved as i went along. This is the main frame that the bed will hinge off. |
 |
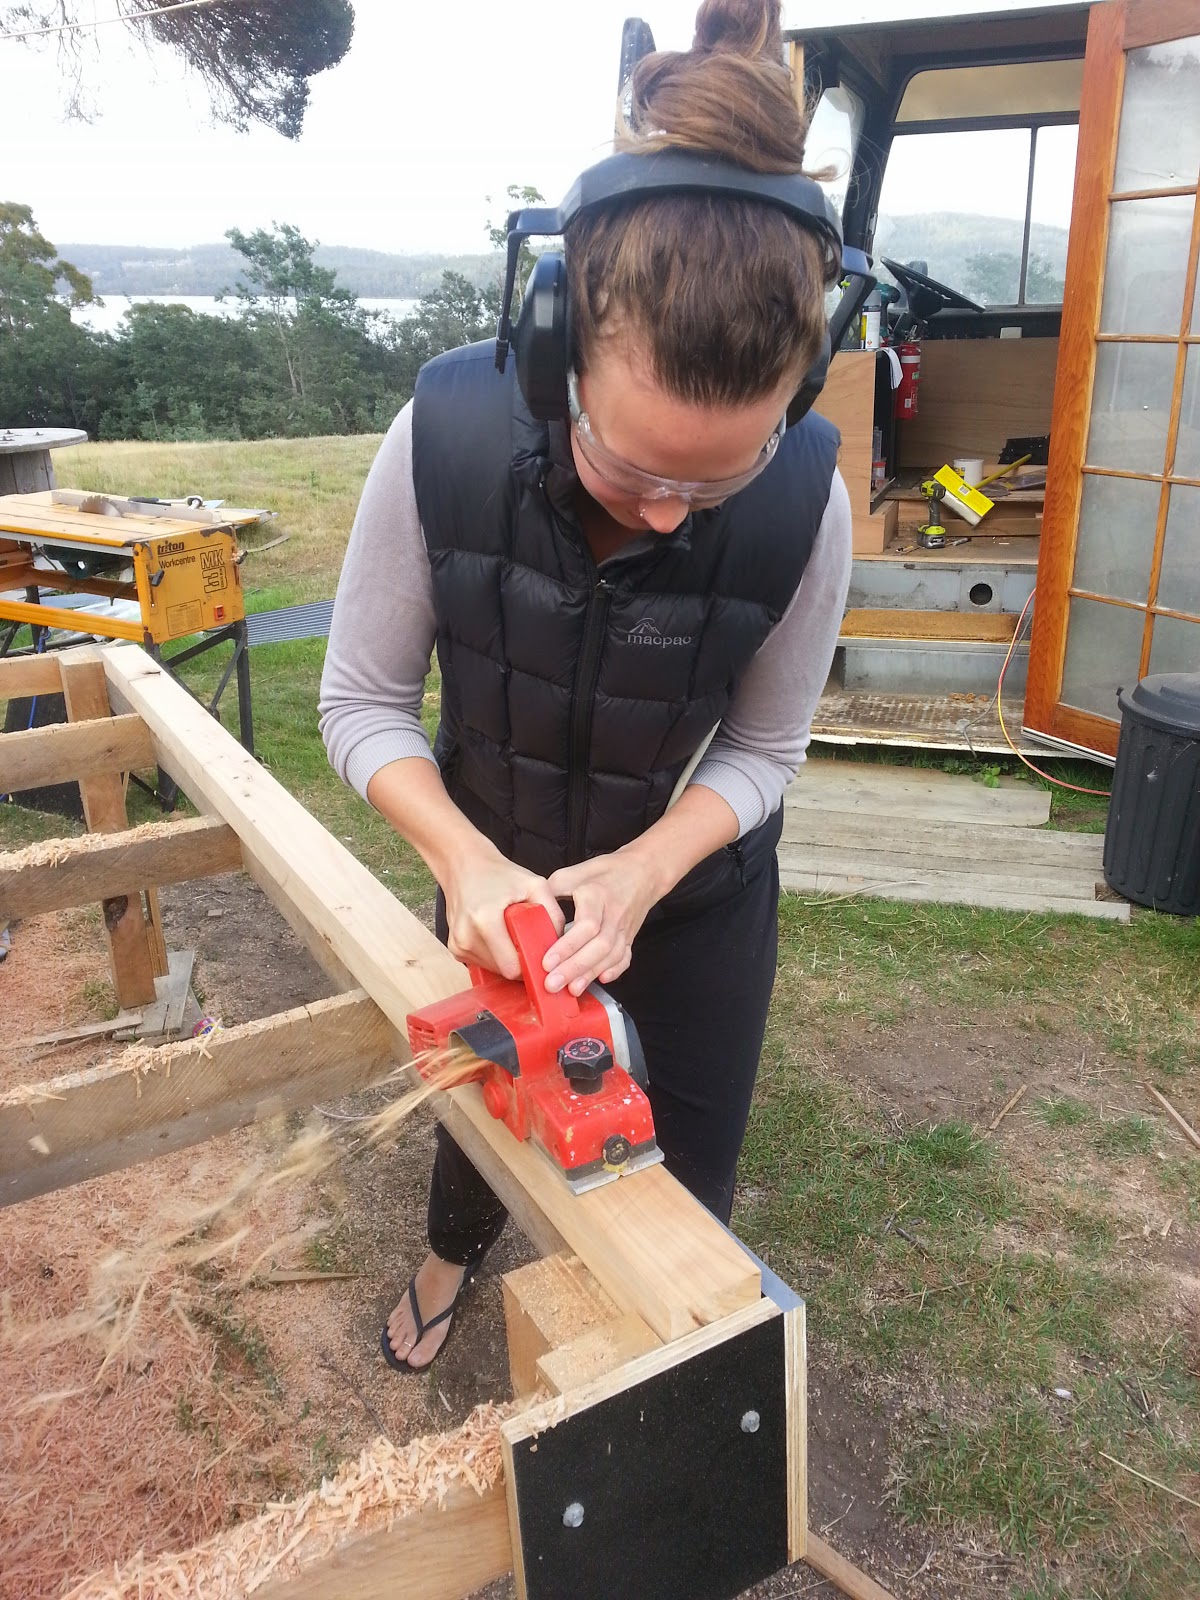
| Em hard at work dressing some timber for the bed frame. |
 |
| 5th March - Bed idea complete |
 |
| There will be storage drawers either side underneath and gas struts to make lifting easier. |
 |
| Here is my way of making a template for lining the walls up to the curved roof. I clamped some MDF up against the lowest point of the curved roof and measured each point and marked a mirror image off the top edge. It wasn't a perfect template but was a good starting point for using throughout the bus for wall patricians and lining etc. |
 |
| 10th March - Lights and power points are hooked up and working well. Most have dimmers on them. |

 |
| Continuing with the escape hatch. This rear section is all molded fibreglass and required a fair amount of time spent lining it out and packing out sections to make it flush. |
 |
| The escape hatch is behind a sliding piece of ply. |
 |
| These are the Downlights we chose to use. LED lights use very little power and put out an amazing amount of light. The front kitchen section and the bathroom area don't have dimmers but everywhere else is dimmable. |
 |
| We have 20 downlight throughout the bus which means our lighting will use 240W if all inside lights are on full. |
2 comments:
Hey guys, super build. Great lines and workmanship.
What wood did you use for your bed frame may I ask ?
Cheers
Hi guys beautiful job any hints or tips on the fitting of gas struts I’m just about to fit them on my nephews van & im a bit daunted. TiA x
Post a Comment