Friday, 3 July 2015

15. Moving in, Composting Toilet, Pantry

2nd of July - Flue casing done, heater pumping, its time to move in!!!!! There is still a lot to do. But we've got a comfy bed and heat so we are in.
3rd July - Starting to get visitors already! Nobbie chillin with Em. Temporary kitchen bench tops. No drawer fronts but it will be functional soon!
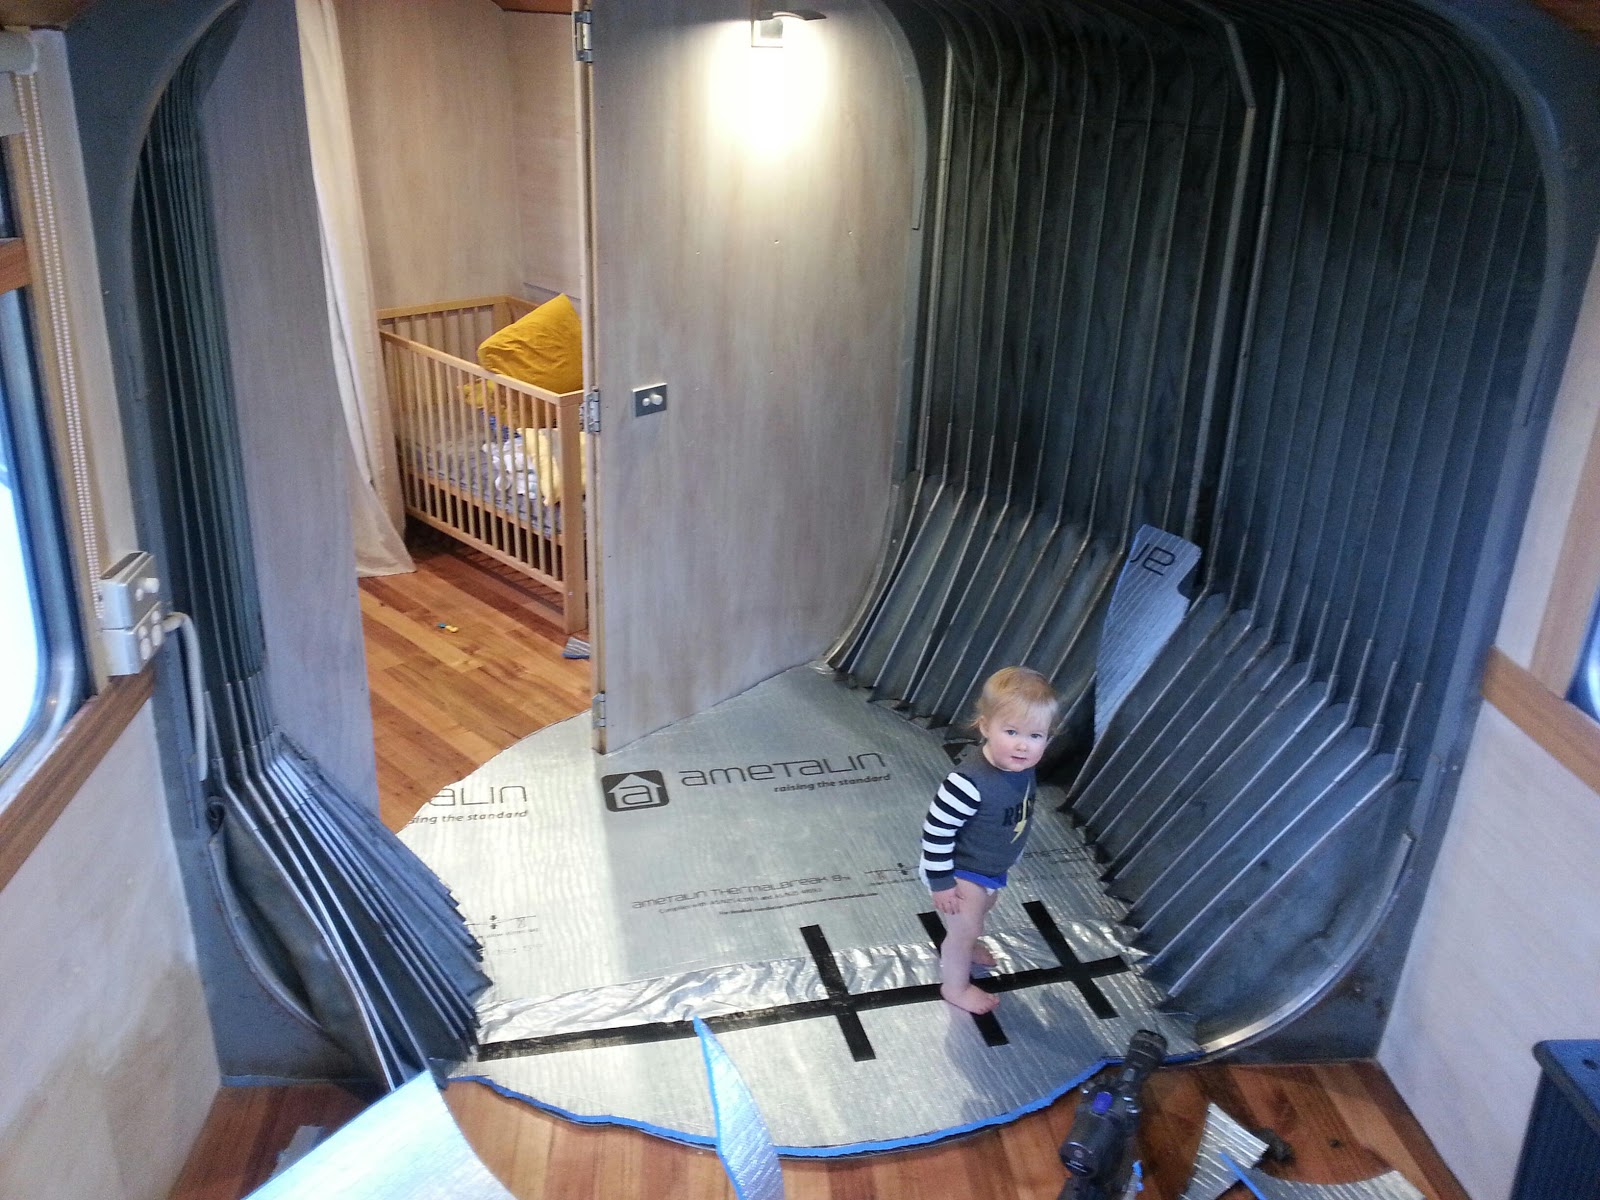
More drawer fronts and stainless handles. Bench tops to come. This is sort of a hallway section but Hudsons room spills into this area with the curtain open. We didn't want to waste space having a separate hallway section walled off from the rooms.
Hudsons cosy little room.
7th July - Digging a line trench for the composting toilet. This leads to an absorption trench about 25m away from the bus and is a shallow grave sized trench with gravel, ag pipe and hessian cloth. The excess liquid from the toilet ends up here.


Thursday, 18 June 2015

14. Whitewashing, Floors & more drawers


15th June - The Livos product here is called Kaldet Transparent Wood Stain - White
This took a fair bit of time to put on evenly. It looks like a flat undercoat when it first goes on but with the Livos Kunos Clear this seals it and gives it a richer look. As the clear goes on, you can manipulate the whitewash coat underneath.
   
21st June - Nature decided to do a bit of white washing too. Minus 3.
Father-in-law helping once again! The drawer fronts for the wardrobes are 9mm hardwood ply which are whitewashed like the walls.
   
22nd June - Sanding the floors getting ready to oil.
I used Livos Kunos again on the floor. 3 coats with the 3rd coat polished in with an orbital lambswool pad. 
25th June - Building the drawer boxes for the Bathroom/ Hudsons room. I picked up some cheap melamine from a joinery company that had gone into liquidation. There will be almost 50 drawers in the bus. 
The crappy ply that i made the wardrobes out of looked pretty average and I didn't want to use paint or more ply to finish the inside off. So I bought an old bible from an op shop and Em used the pages as wallpaper. She used PVA glue and a roller. The pages have wrinkled a bit but that just adds character!!! I will put a clear oil over the top.
1st July - Wood Heater installed and first burn. This is a Jotul 602N. It easily burnt over night (after I removed the welded bar that prevents you from shutting it right down) The Flue was custom build from a local sheet metal fabricator. Its a stainless flue with casings on the outside sections of flue. 

2nd July - Attaching drawer fronts in the Bathroom/Bedroom area. again these are hardwood ply whitewashed with clear over the top. Getting these drawers right was a bit tricky because I made the carcasses while the bus wasn't level and the edges are out a bit.

Wednesday, 27 May 2015

13. Kitchen carcasses, Wood heater & Drawers


27th May - Flood lights hooked up. These are also LED.
I had to spend a bit of time getting all the walls level/square etc. All the walls in the rear section are finished and the wall mounted light in the lounge area has been connected.
29th May - These kitchen carcasses came up second hand and will suit the layout very well. 
30th May - Emma (13 weeks pregnant with our second) punching the floor nails in. My parents had some left over tiles from their bathroom reno which we will use on the heater platform.
Heater platform in. I put a piece of Magnesium Oxide sheet on the wall next to the heater. This is like cement sheet and we plan to cover this in some pressed tin. 
These Hettich drawer runners came up on special from $45 down to $10 a pair. So i bought 47 pairs to do the entire bus! Bargain!
The drawers going in to the wardrobes.

Sunday, 3 May 2015

12. Bathroom, Toilet & Bedroom areas


3rd May - This shows the tedious task of making true/plumb/level walls for the shower. For the back wall I needed to make up these interesting shaped studs to go against the bow-shaped wall. Now that the bus is level i can actually use a level.
May 5th - Severe winds crumpled my outdoor workshop. This is the second Gazebo that has been destroyed by weather. I won't be getting another!!!!
The focus will be on the back section, so the front section will be the workshop!
Shower base glued down level
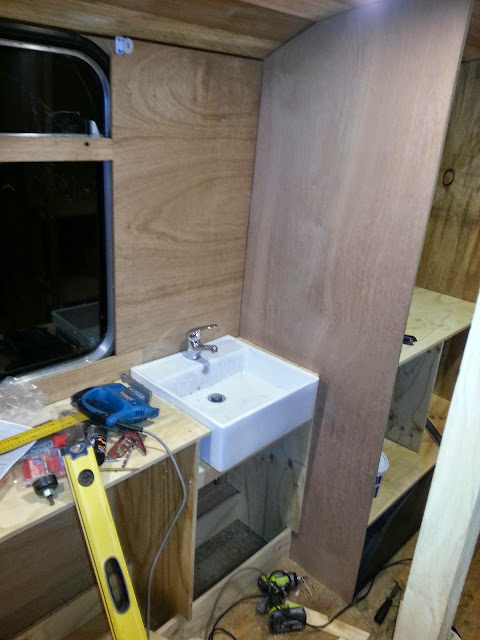
Vanity basin set into bathroom bench
Shower walls clad with Villa board. Below is a walk through video of where the bus is up to as of 13th May 2015.

18th May - Father-in-law varnishing the bed frame. For all the oiling and varnishing we are using products from a company called Livos. Livos manufactures a large range of environmentally sustainable products. Their products are made from natural plant-based materials, contribute no greenhouse emissions, and are free of harmful chemicals.
For the Floor, Ceiling and Trims we are using:
For the walls we will use a white washed:
Rather than adding wooden beading on the joins I used a dark brown 'No More Gaps'. So to make it neat, i taped it up.
Father-in-law glueing on the hardwood ply to the wardrobes.
Shower plumbing in place and I used a 2 pack marine wood sealer on the floor near the shower and the ceiling above. We didn't want to bother with tiles or vinly for a wet area so this will do the trick.
Yet another beautiful sunset.
Sunset view from the rear hatch behind our bed
23rd May - My nephew and niece helping to punch and putty the floor board nails.
26th May - Foreman Huddy checking the shower walls!

Friday, 27 March 2015

11. Outside the bus - getting it level

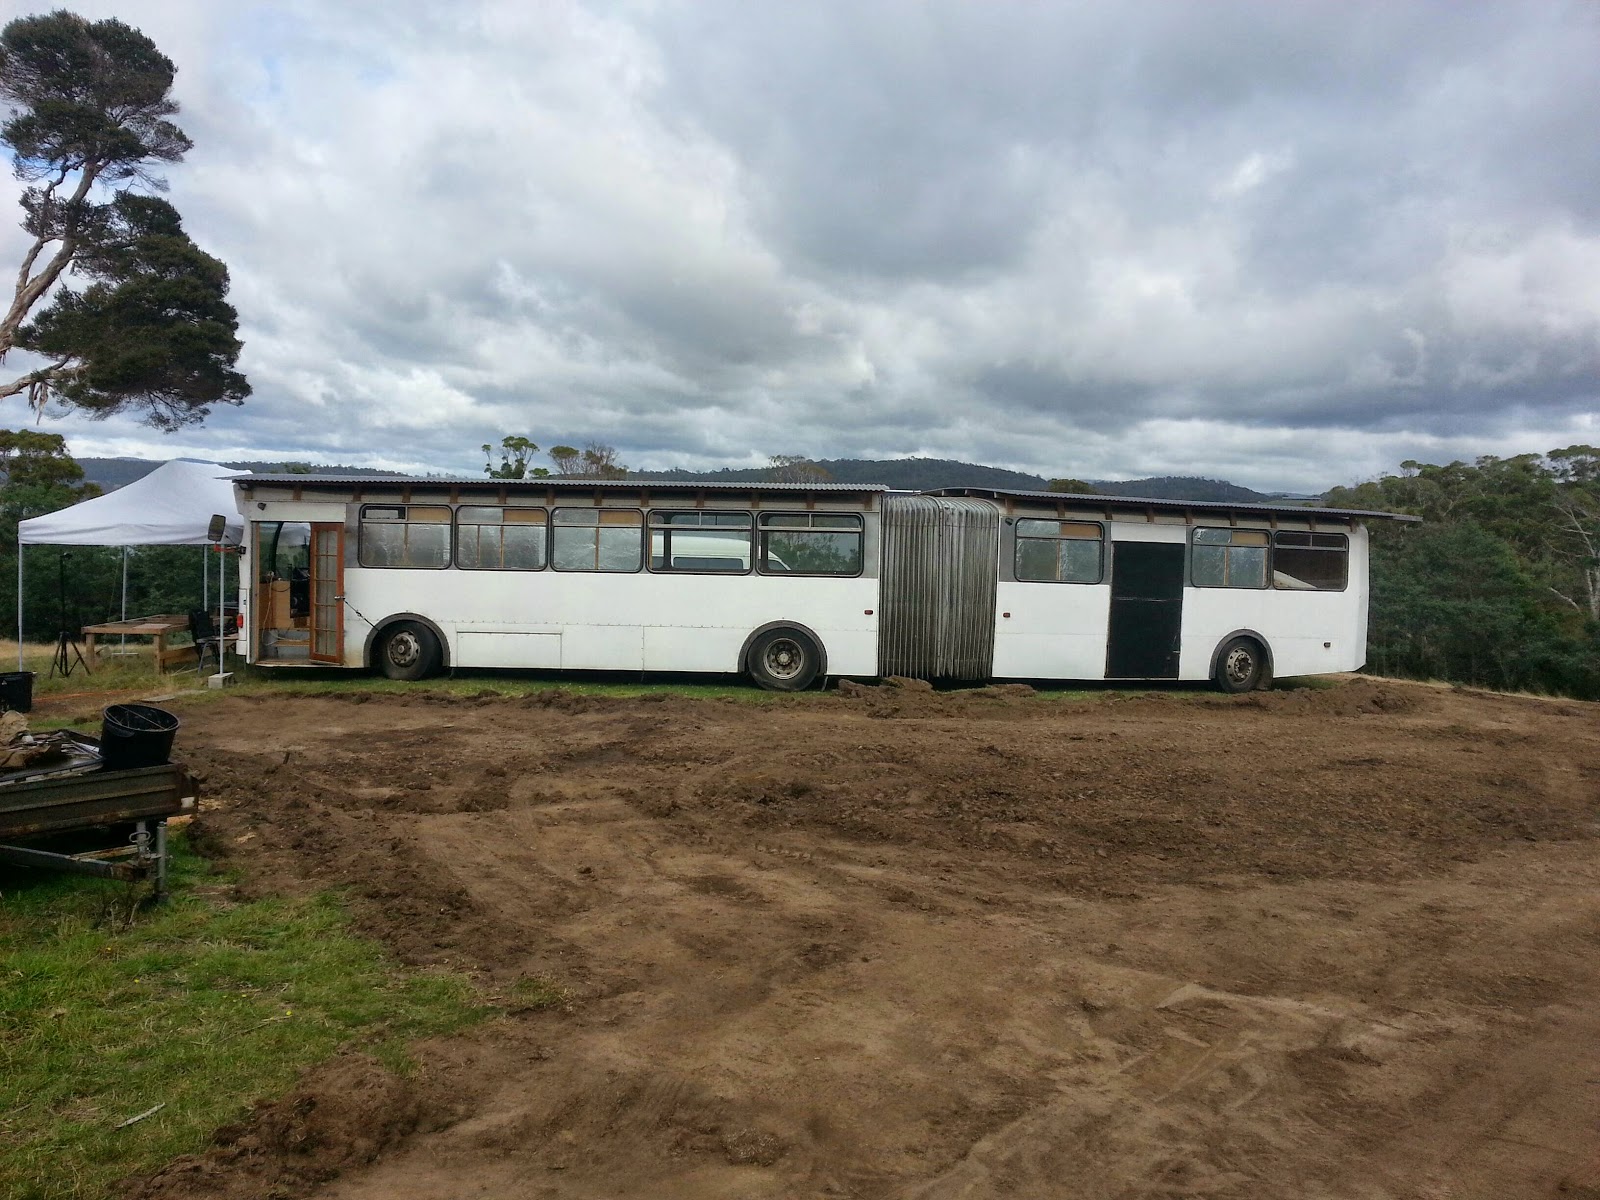
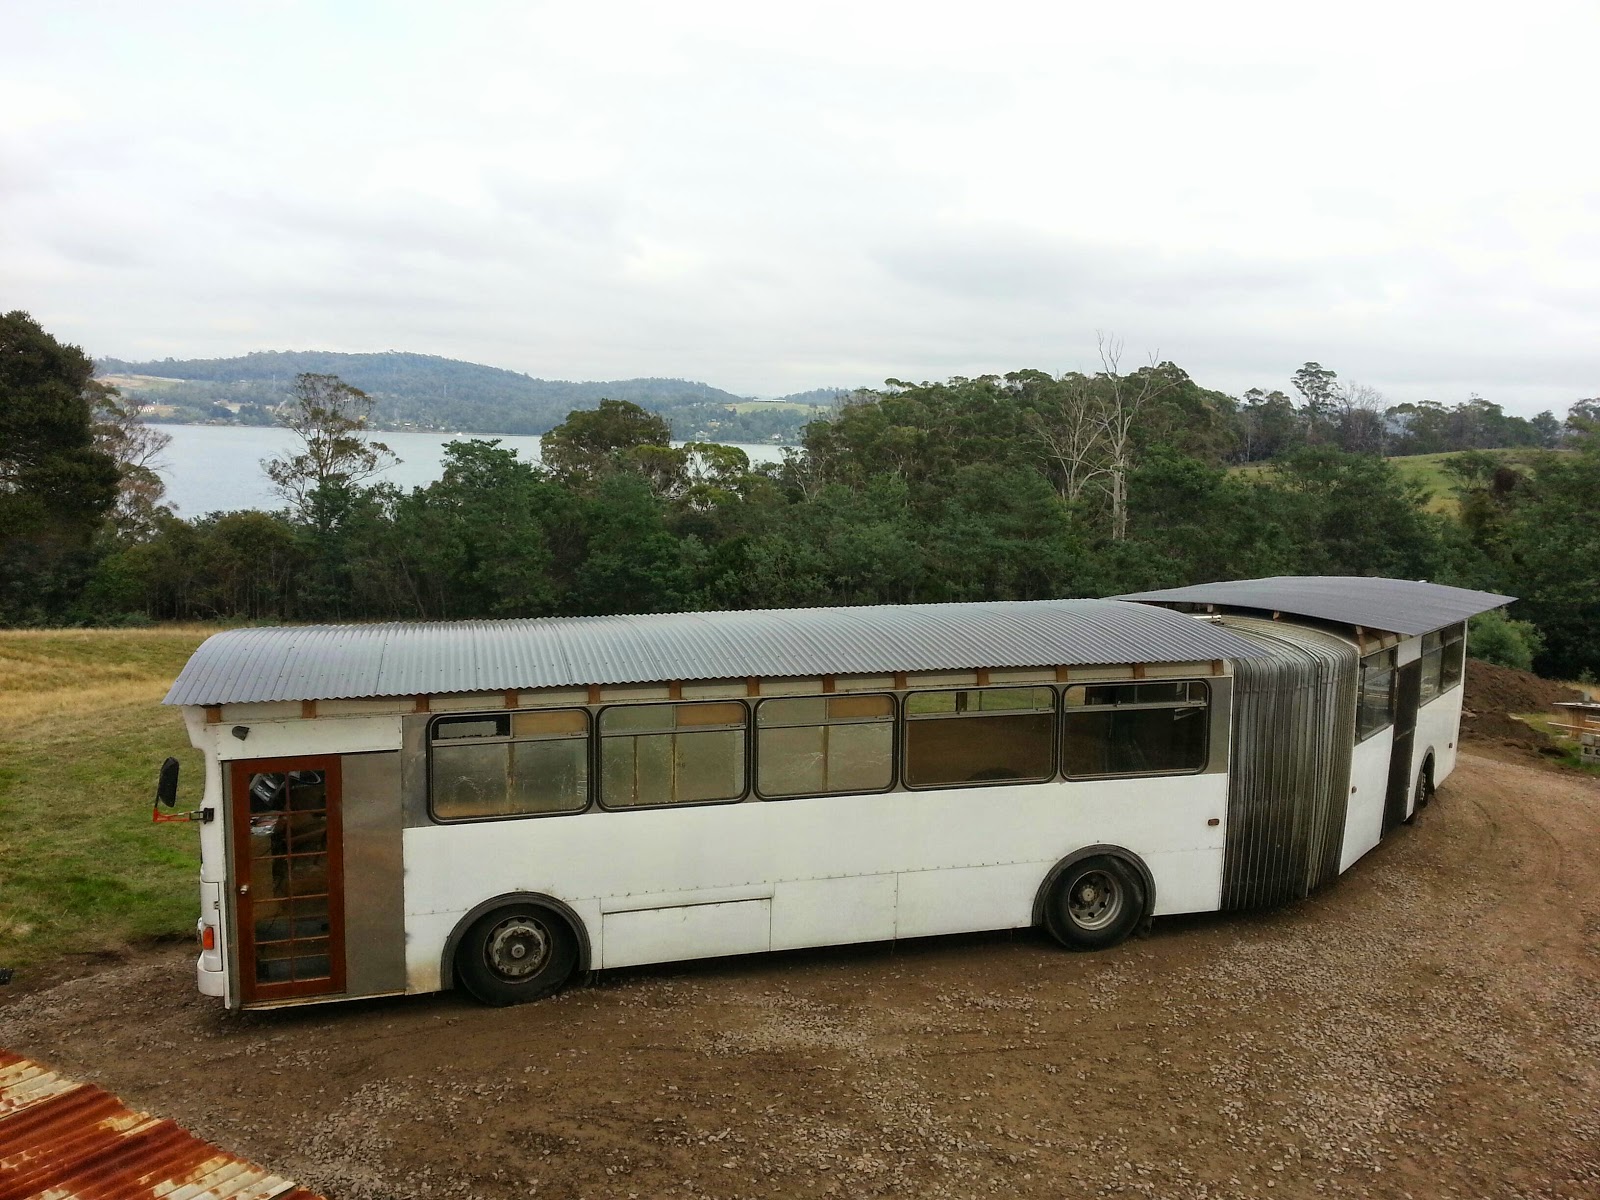
The Bus sits on a fairly damp part of the paddock so it was necessary to put a gravel road base down. After a year on the grass the bus had sunken into its wheel ruts and needed a bit of help from the tractor to move it. 
Hudson helped with the tractor work!
We will leave the eastern side as grass so that we can create a garden later on.
Here we have most of the top soil off ready for the gravel.
There were a few soft patches under the topsoil so the aim was to direct water off either side of where the bus will sit.
The first few loads on and getting spread out. Scalp gravel was put down under 40mm road base. 
1st April 2015 -  bus is sitting on  a solid base now. Next it will be chocked up onto concrete pads and levelled.
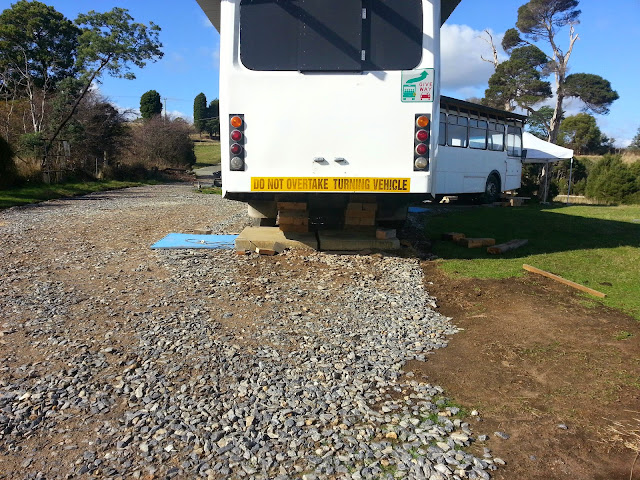
1st May - Putting the concrete pads under the bus ready to jack it up level.
Rob and I getting things in place ready to jack the back section up level.
I hired a 10 tonne jack to do the job. This was slow going as it only lifted 10cm at a time so there was a lot of chocking and lifting going on!!!! Here I am using a 3 tonne trolley jack that was much faster but slightly under powered! I used Macrocarpa sleepers stacked up like Jenga blocks to sit the bus on. This worked well and the bus is stable and level now.